Welcome to AVAIL! This guide is intended to walk through the essentials for getting started with AVAIL. Haven’t downloaded AVAIL yet? Register here.
Once you have AVAIL installed, you can start using AVAIL to manage your content with four easy steps:
- Creating a Channel
- Indexing content in that Channel
- Tagging content
- Sharing your Channel with others
Step 1 — Create a Channel
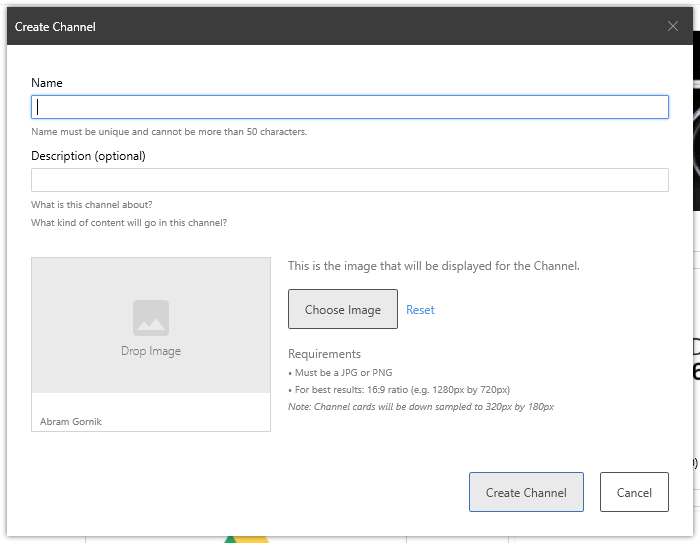
On the Home Page, click the  Create Channel Icon to add a new Channel. The Create Channel dialog will open. Enter a Channel name. You can add a description to your Channel to communicate what the Channel's purpose. The Channel description is searchable and might help others find what Channel they need by adding keywords into the Channel description. When ready, click the ‘Create Channel’ button. When you create a Channel, you are the only person who has access to it until you decide to share it.
For more, please see our article How to Create a Channel
Step 2 — Adding Content
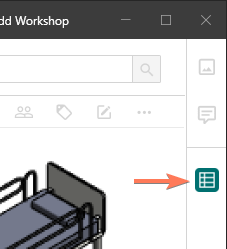
Once you have created your first Channel, you can add content by simply dragging the content you wish to add into the Channel.
Adding content to a Channel is referred to as Indexing. The content is not being moved from its location nor duplicated - rather, a representation of the file is created in AVAIL, based on the filepath location.
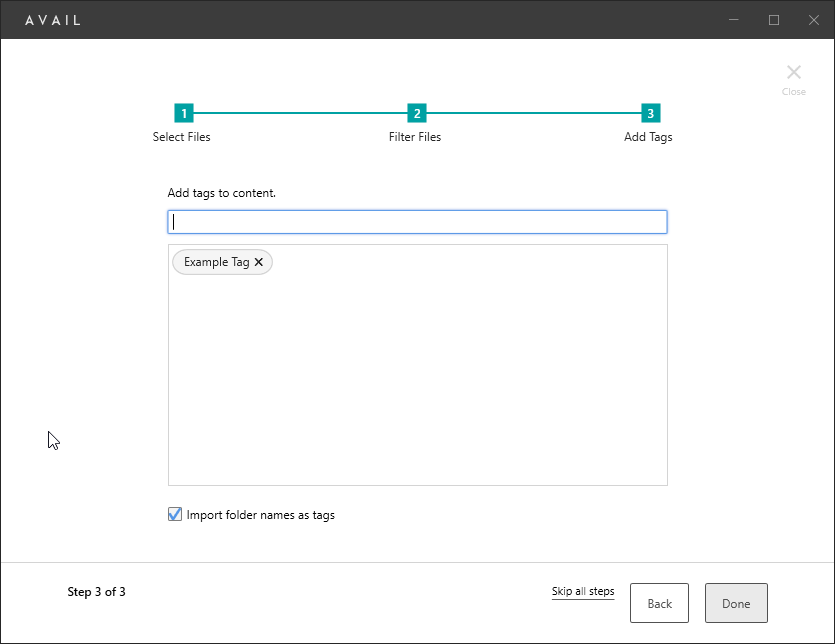
Dragging content into a Channel will open the Indexing prompt. From here, a user can decide what type of files they would like to add. They can include and exclude files and folders. They can also add Tags to the files to be indexed.
For more, please see our article How to index content into a Channel.
Step 3 — Tagging
Tags are the bread and butter of AVAIL. They offer an organizational structure to your Channel and they make finding content fast and easy. There are three main ways to tag your content.
1. Automatically
AVAIL will automatically include tags such as file extensions and Revit parameters. As well, step 3 of Indexing will allow you to add tags to every item being indexed by typing in the tag and pressing Enter. Or automatically import folder names of the content’s location as tags unless you decide to uncheck that option.
AVAIL also has additional tools such as our Revit Tag Generator, which can greatly simplify automated tagging of Revit content.
2. Using a spreadsheet
Tag IO enables Channel Editors to export and import Tags from Excel or other external spreadsheet.
- Great for updating hundreds, even thousands of Tags in minutes
- Quickly QA/QC existing Tags
- Easily add structure to your Tags by adding meaningful Keys
Once content has been indexed into a Channel, select Tag IO to begin the process. How to use Tag IO.
3. Manually
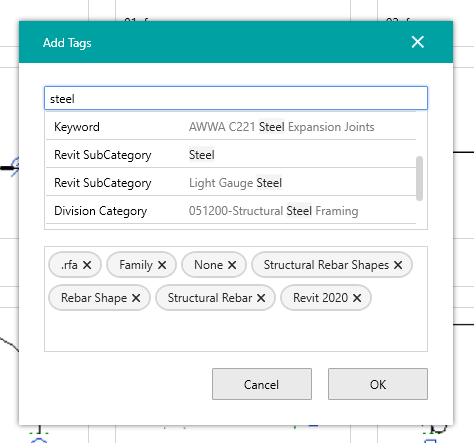
To add a Tag to content, right click on content and select ‘Add/Remove Tags’. The Tag dialog will launch. You can add new Tags or select existing Tags from a drop down list that appears when you start typing.
Tags can be searched by selecting a tag from the Filters Panel, or by entering a search into the Search bar. Entering a search will automatically update the Filters Panel to display the relevant tag options.
Step 4 — Sharing
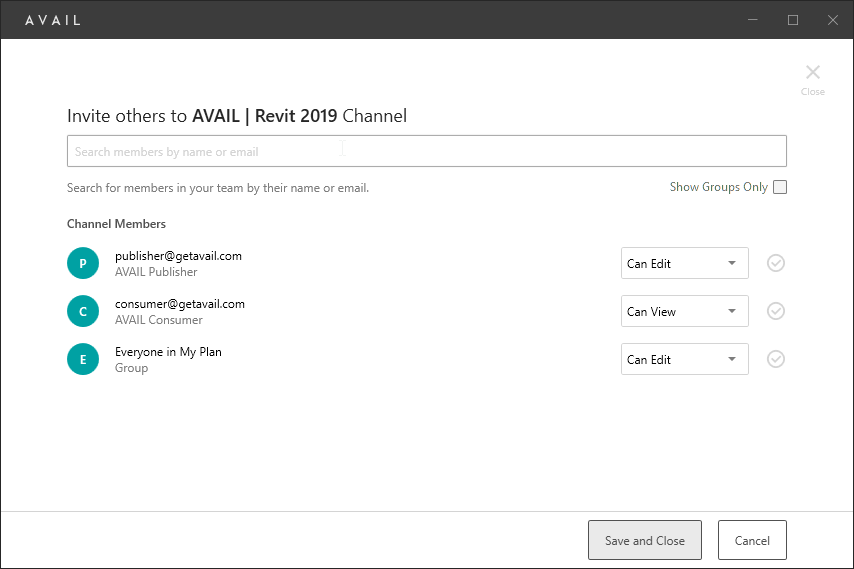
Once you have finished organizing your Channel, you can share it out with others. When a Channel is created, only the creator (Author) of the Channel has access to it. To share a Channel, navigate to the Channel you would like to share:
 Click on the
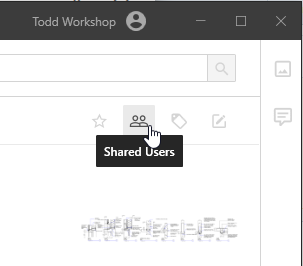
 ![]() Shared Users Icon towards the top-right side of the application.
Shared Users Icon towards the top-right side of the application.
Under Channel Members, you will see a list of everyone who has access to the Channel, and whether they have editing or viewing access.
To add a user, click on the ![]() Add User Icon . Once you have added users, you can edit their Channel permissions by either setting them to Can View or Can Edit. Users with the Can Edit permission are allowed to add tags and add/remove content to the Channel.
Add User Icon . Once you have added users, you can edit their Channel permissions by either setting them to Can View or Can Edit. Users with the Can Edit permission are allowed to add tags and add/remove content to the Channel.
To remove a user from a Channel hover over the ![]() Check Mark Icon and it will become the
Check Mark Icon and it will become the ![]() Remove Icon .
Remove Icon .
When finished, be sure to select Save Changes at the bottom.