Step-by-Step Guide
Step 1 — Create a new Personal Palette or choose one already created or shared with you
To create a new Personal Palette:
-
Browse content in the library (channels/folders).
-
Select one or more items.
-
Choose Add to palette.
-
Create a new palette (or add to an existing personal palette).
Step 2 — Share the Personal Palette for Collaboration (Optional)
Personal palettes can be shared with other users for collaborative building.
-
Open the Palette.
-
Add Users (or User Groups).
-
Users can collaborate by adding/removing content from the Palette. All content on a Palette is sourced from the Channel library in AVAIL.
Important note: Personal Palettes are intentionally flexible. Any user who creates a Palette has the ability to grant View and Edit permissions to anyone they share the palette with.
Step 3 — Promote the Palette (Publisher action)
Promoting a Personal Palette elevates the Palette to the organization level.
-
As a Publisher, open a Personal Palette created by you or one that has been shared with you. Be sure you have Edit permission on the Palette.
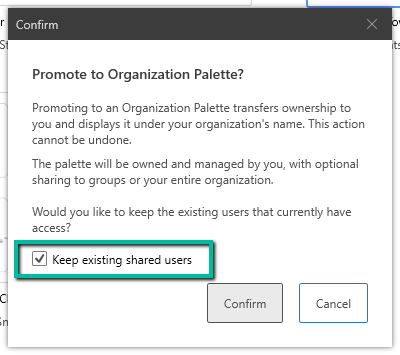
Right-Click the Palette, then select View Palette Details. In the Details panel, select Promote.
Check the box to keep existing shared users, or uncheck the box to remove shared users (start fresh).
Result:
-
Palette moves from Personal → Organization.
-
Palette becomes Publisher-owned.
-
Palette displays the blue icon.
Step 4 — Configure Visibility, Access, and Permissions
This is what controls who can see the Palette in the AVAIL Desktop.
-
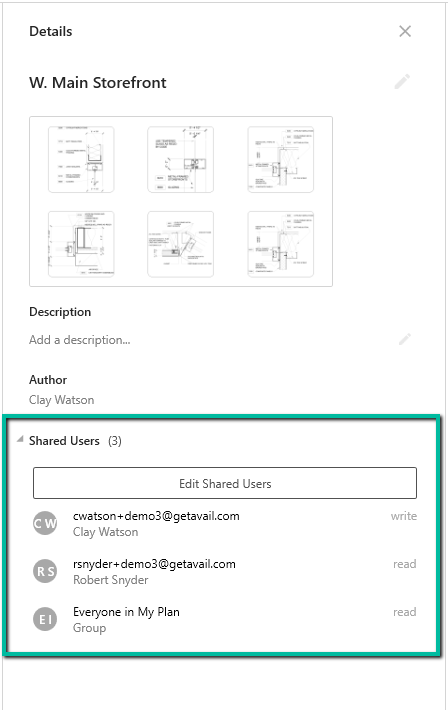
Right-Click on the Organization Palette, then select View Palette Details.
-
Choose Edit Shared Users.
-
Share with:
-
Individual Users
-
User Groups
-
Everyone in My Plan
-
-
Assign permissions: View or Edit
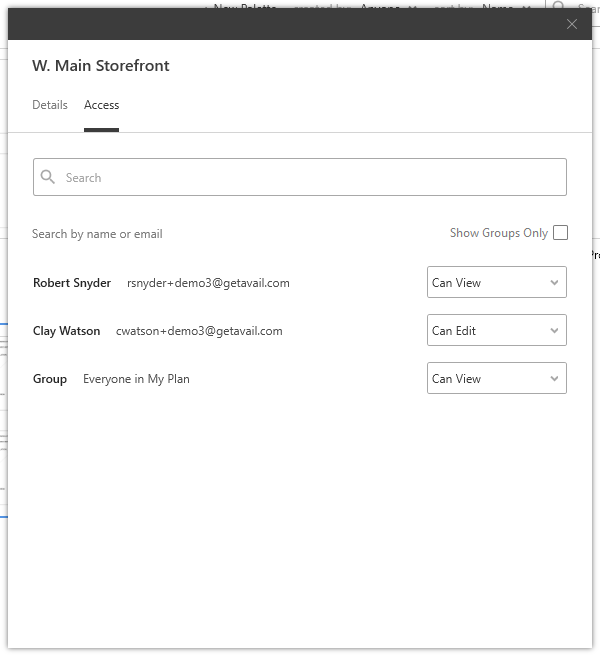
Visibility rule: If a user/group isn’t shared on the palette, they will not see it under Organization Palettes.
Step 5 — Generate the Palette Card (Recommended)
-
Select the items you want to show on the card preview.
-
Use the Generate Card from Selection (right-click option on Palette content) or right-click the Palette -> View Palette Details -> Click the Refresh wheel on the Palette Card image.
-
Confirm the preview updates.
Important note: Custom image uploads are not available for generating Palette cards (unlike Channels).
Visibilty rule: Selecting fewer items (i.e. less than six pieces of content in a Palette) will display gray placeholders instead of content thumbnails.

Step 6 — Use Organization Palettes in Revit / AutoCAD / Civil 3D
Revit
-
Open the AVAIL for Revit add-in.
-
Go to the Palettes tab.
-
Choose Organization or Personal.
-
Check the box on the Palette you want to load.
-
Bulk-load one or more palettes, or open a Palette and drag/drop individual items from the AVAIL Desktop.

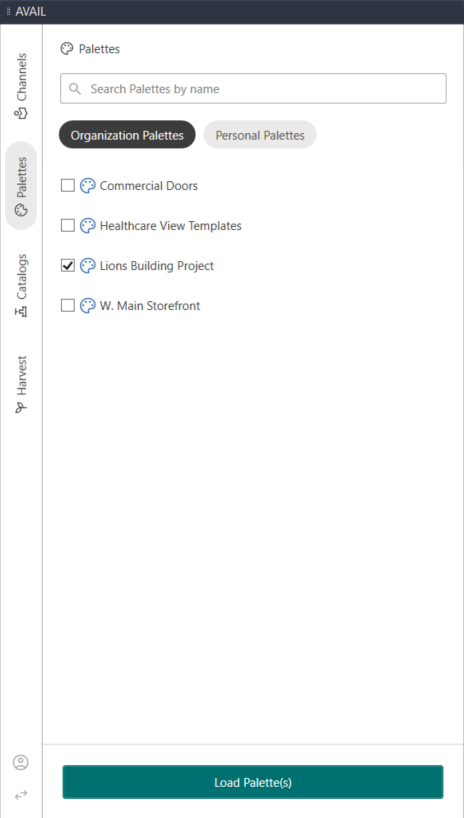
AutoCAD/Civil 3D
-
Open the AVAIL add-in.
-
Go to the Palettes tab.
-
Choose the Organization and/or Personal Palette you would like to load, then select Load Palette(s).
Important note: If a palette contains mixed file types, bulk loading will skip content based on the following behavior application:
AVAIL for Revit: Only .rfa and .rvt files will be loaded. Any other file type within the palette be skipped and not loaded.
AVAIL for AutoCAD & Civil 3D: Only .dwg files will be loaded. Any other file type within the palette be skipped and not loaded.
Have additional questions? Click here to read our FAQ article on Organization Palettes.